Giving Our Solar Energy Something To Do
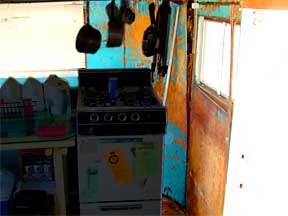
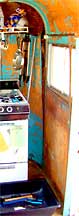
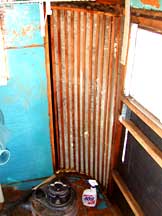
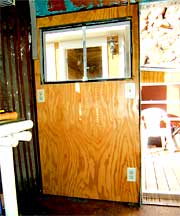
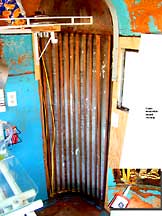
BEFORE
DURING
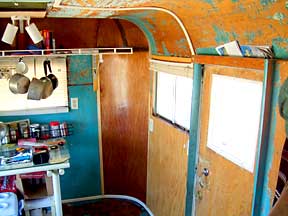
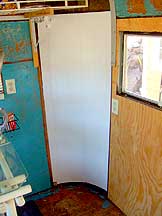
AFTER
Click here to see work done in 2002
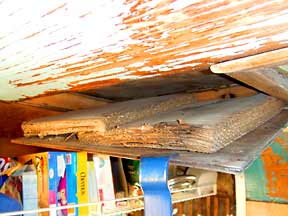
Old ply wall
Removing it
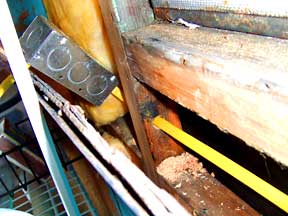
and the backward insulation
Corrugated paper insulation
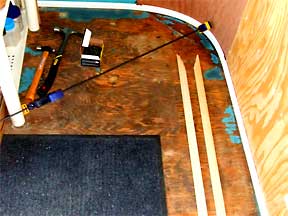
Slats support the canvas
Installing solar at the same time
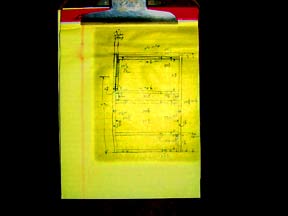
The front right wall plan
(contrasted)
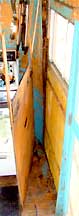
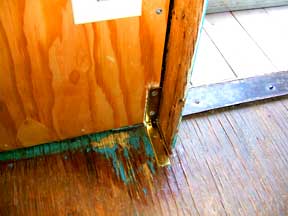
Fortifying door jamb. Trim will hide it later
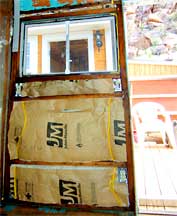
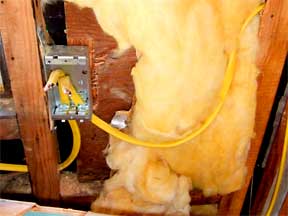
The front right wall wired
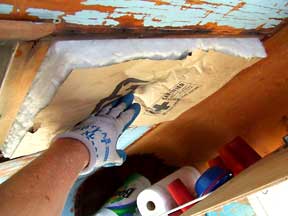
Re-insulated
(correctly this time)
Sheathed
Wiring for 2 front wall outlets
An additional wire for a ceiling lamp climbs the corner on the right
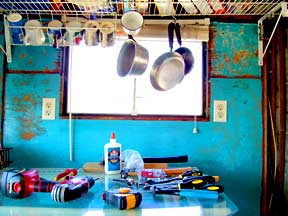
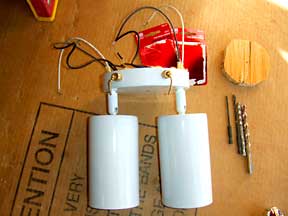
Selected this panel for a kitchen lamp
Rain had seeped in around the adjacent vent
Added pull-chain switches to the lamp
Attached lamp to new ceiling panel
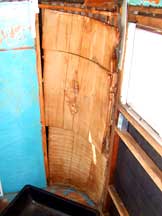
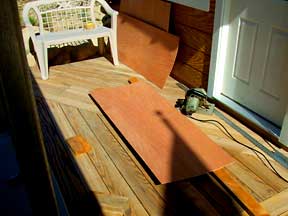
After fitting to corner, foam panel is sliced vertically on reverse side
Careful 3/4 deep slicing helps the foam panel curve into the corner
Using thin luaun panel since it will take the curve without splitting
(if very gentle)
Luaun is 2 layers of veneer with a mesh of wood fiber and adhesive between
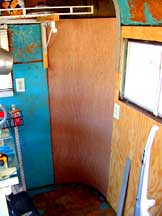
Using 'resin'
(plastic)
trim for the curve since the wood trim snapped
The resin cracked where notched but wood trim & glue in the notch hold it together
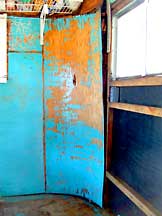
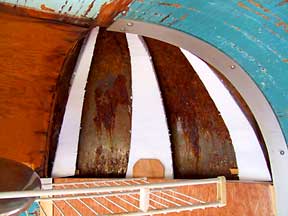
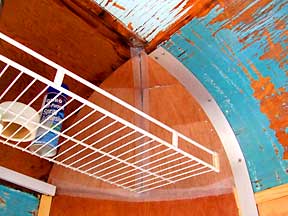
How to redo the corners puzzled me for 7 years; it had to curve in 2 directions
Installed an aluminum strap sandwich in 2002 to
pull sprung walls
back together
The luaun couldn't take this curve.
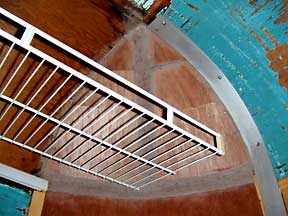
Sealed seams with fiberglass tape & adhesive
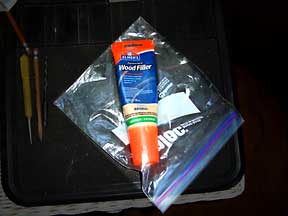
Filled seams with Elmers Wood Filler
Filler becomes rock hard; difficult to sand
Coated with Minwax Polyurethane
Once open, the Elmers Wood Filler hardens within its tube. A zip-lock bag slows that down
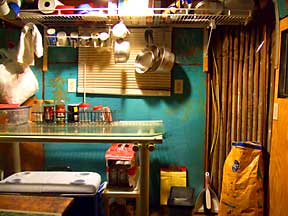
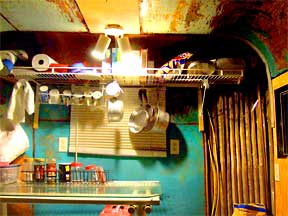
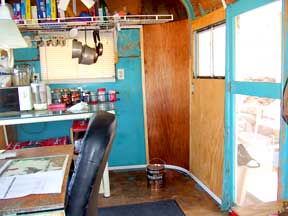
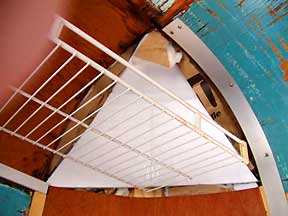
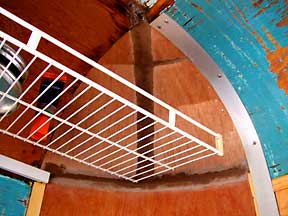
In the foreground and behind the wire shelf, white plastic tracks run wire to the lamps
Copyright © 2008, Van Blakeman