|
The image above opens to a short animation which gradually overlays seven similar photos depicting the assembly of this pad over a period of 14 days. In the end the surface projects 11' out from the bedrock slope. I say 'assembly' because it was a relatively simple matter of rearranging the rocks that were already at hand. Being on a fairly steep hillside, the idea was to move the largest rocks outward and drop them on top of each other to create a solid foundation wall, filling the space thus created so that more large rocks could also be moved across.
Smaller rocks were used to fill the gaps in the growing retainer wall primarily to lock the larger rocks in place, minimizing the chance of slippage even though these irregularly shaped
monzogranite rocks with their rough surfaces do tend to lock into each other very nicely. However, earthquakes and weather can suddenly or gradually break this natural bondage so the gap filling was carried to the extreme of tapping very small wedge shaped stones, called shims, into the resulting small gaps with a gentle steel rock hammer or a rubber mallet.
The tools used to move the rocks were a 20 ton hydraulic jack, iron pry bars 6' & 8' long, a heavy 3/4" nylon rope, a 5 ton come-along (winch), tight rubber gloves, smaller rocks, and lots of forethought. The smaller rocks would serve simply as support to help carry the larger rocks forward, or as pivot points and leverage to help rotate or tip a larger rock into position. As Archimedes said: "Give me a lever long enough and a fulcrum on which to place it, and I shall move the world."
No rock was moved without serious and focused thought, usually over a cup of coffee or prior to falling asleep at night. A large multi-ton rock tends to choose its own path, but smaller carefully placed rocks can influence that path, if just to keep it from going where we don't want it to go. Similar thought goes into making sure I am not standing in any of those places where it, or the smaller rocks, might suddenly decide to go.
The primary ingredient here is patience; taking one's time to study the subject rock, the rocks above it just waiting to pounce, and the rocks or terrain below and beside it. Every pump of a hydraulic handle, every ounce of pressure on a pry bar, is considered and done slowly, with full awareness of where I will leap if the unexpected happens.
I don't wear boots for this work; I wear rubber soled climbing shoes that get a good grip. If my stance is at all precarious I have a secure nylon rope at or in hand so that I can quickly swing out of the way if necessary.
The form-fitting rubber & nylon mesh gloves get a much better grip then leather on the rocks, the pry bars and the nylon rope. A broom is kept handy for sweeping the surfaces that I stand on - trying to get a good grip on a rock surface covered with loose dirt or gravel is much like standing on a layer of small ball bearings. A bucket of water is thrown over the rocks now and then, not only to keep them clean but also to wash the dirt and gravel into the gaps and the seams, making them stronger. After wetting, this soil (aka: gneiss) adheres almost like cement when it dries.
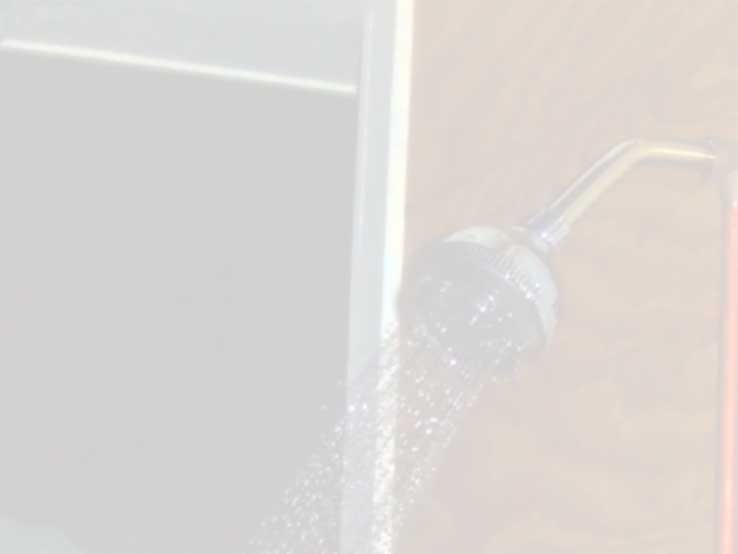
The seven photos are also shown individually below, each leading to a full screen rendition. Other selections on the parent 'Joshua Tree 2008' page will lead to the placement of a 2600 gallon water tank on this pad, a stone wall around the tank to provide shade, and pipe to carry trucked-in water up to the tank and then down to the forementioned sink and to a brand new shower stall.
|