|
|
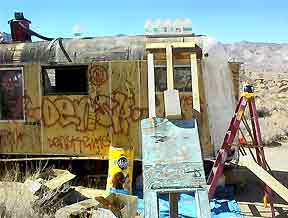
Rejuvenating
|
|
|
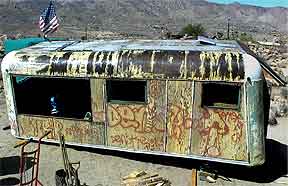
1968:
|
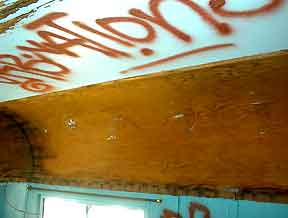
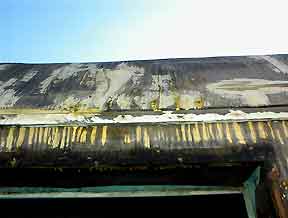
2001:
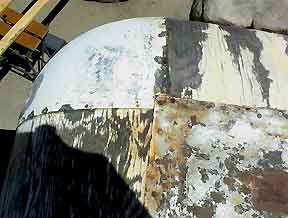
Most of the outer ply is gone as is the factory glue. Much of the center ply is gone leaving one cracked inner ply 'intact'. |
2002:
|


|
How it was done: |
After the left end dried, did the same with loose middle ply fragments. |
And then the right... |
|
|
|
|
|
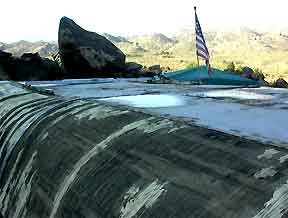
Left and right end shots show no fragments projecting |
First varnish, thinned 50/50 with mineral spirits to get some penetration |
Series: About Foaming
|
|
|
|
|
|
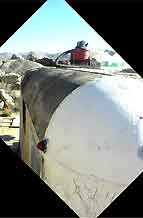
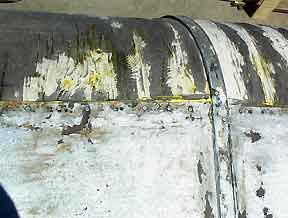
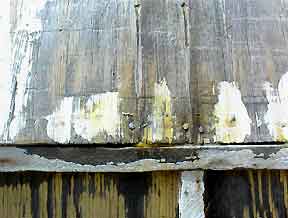
The area left of the center strap had dropped ½". Glued and filled that gap liberally |
2 or 3 more layers of wood filler and hand sanding gave it a smooth and solid surface |
Reattached strap with new screws. The bright yellow is glue poured into holes |
|
|
|
|
|
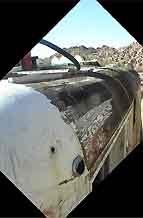
This shows the same separation from below |
The metal corners are firmly reattached with lots of glue, toothpicks and screws |
The same from below: screws & toothpicks visible. Replaced screws with shorter ones |
|
|
|
|
|
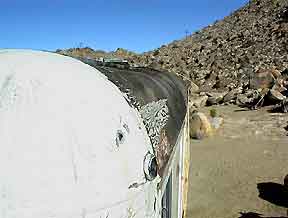
Left border of roof has been spot glued, filled and sanded ... about to re-varnish ... |
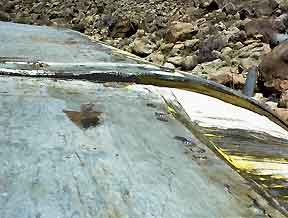
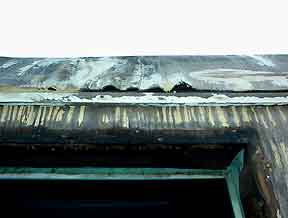
But then it rained ... |
And it warped ... |
|
|
|
|
|
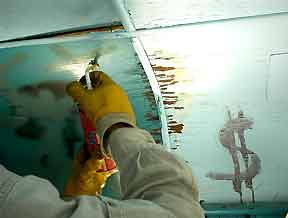
Sliced each warp down the middle, trimmed the edges, glued and nailed |
A close-up of that process in another spot |
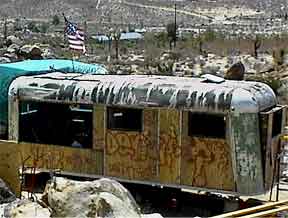
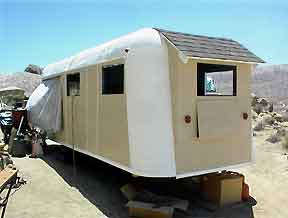
Filled and sanded the new repairs. Varnished! (Trailer is tilted intentionally) |
|
|
|
|
Painted |
||
|
|
|


|
|
|