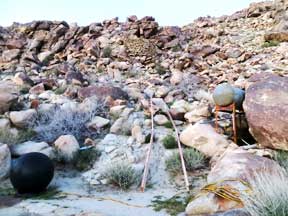
I had just climbed our hill 3+ times to put a "No Trapping" sign at each of the far corners, and at each corner I would stop and turn around to be totally amazed at the magnificent view of the valley below. I have done this many times over 40+ years and it still astounds me.

Back down at ground level I would often feel a slight sense of regret that we had to work so hard just to climb to that view. Getting to the lowest ridge, right above our water tank, takes some effort and skill and is a bit risky. Even the view from that low arroyo is a pleasure.
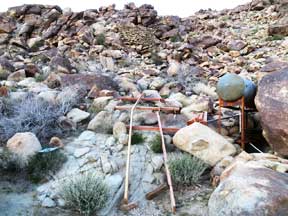
One day we may be too old to do this sort of thing. As I stood there in late March looking up, it began to come to me that maybe I could do something about that. I laid a few boards down, took a picture and emailed it to Eileen, who had recently returned east. She knew exactly what I had in mind and said "Go for it". This is that story.
Point 1: I am not a professional, though I have been doing this kind of thing for most of my 70+ year life. I do like the feeling of looking at something that I have put together, whether a staircase or a web page, and liking what I see.
 This is not a "How to build a staircase" site; it is only a depiction of "How I did it". The first set of steps was an experiment to see if I could hide the hardware so that you only see steps and stringers. It worked, mostly, but if it didn't have six ground-to-railing posts holding it in place, it would wobble. I hope to rebuild that stretch one day, using the tried and true solid wood step supports that I later used on the top stretch of this stairway.
Point 2: In the past, whenever I built anything with posts, I would pour the concrete footings first, consequently not always getting them in exactly the right place to begin with, either because I screwed up or because sometimes things shift a little.
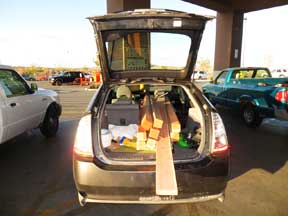
This time, I did not know where the posts of this meandering stairway would end up, so I decided to do the concrete last. I had only a month to get this as far up the hill as I could get it so skipping the concrete allowed me to get that much further, knowing that the overall collection of posts would hold the stairway in place anyhow. I completed the final step on May 8 and flew east on May 9.

This method also allows the posts to adjust themselves as the wood dries and screws loosen, to settle into where they really want to be. When I return in the fall, I will adjust any posts where the attached steps, ramp or deck need leveling, saturate the soil around each, and then pour the concrete around and under each post base. BTW, as they are, all posts stand on solid bedrock or on a reasonably solid flat stone thoroughly tamped into place.
Point 3: I used only screws; no nails. As the wood around them dries, shrinks and cracks, nails loosen and often pop out a bit over time. Some even work completely loose and fall out. Consequently, the entire structure becomes unstable. Screws get a good grip and keep it. In time they can be tightened as needed. The old fashioned steel screws can rust and disintegrate, but not the modern plated steel carpenter's deck screws that I used, especially since the holes were pre-drilled to minimize splitting.
|