|
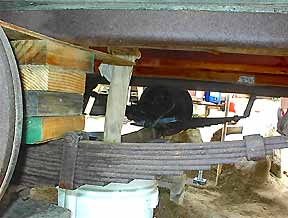
The new beam will slide into the 6 inch gap between the iron frame and leaf spring. Temporary blocks widen the gap.
(Drain pipe had to go. The rag directs water to a bucket.)
|
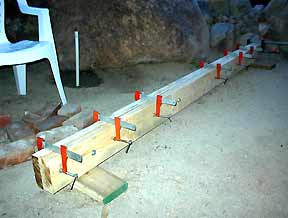
A sandwich of 2x6s & ½” ply, heavily glued, bolted and clamped. The 2x6s should have been clear (no knots) & age dried. Bolts & clamps should have gripped the edges.
|
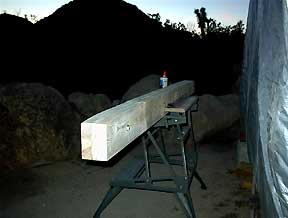
The top ends were shaved & sanded so that rain would run off
rather then inward.
|
|
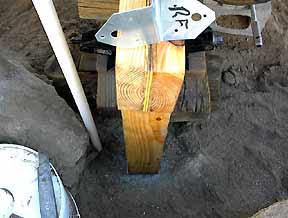
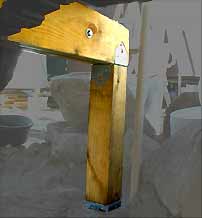
Recesses
are cut to fit the post connectors.
|
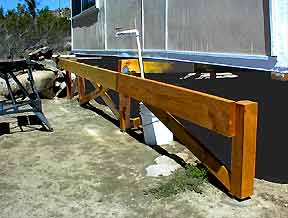
The
finished beam (tool handles & box trailer roof) are treated with 50/50
linseed oil & mineral spirits.
|
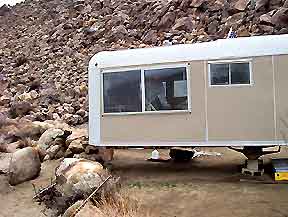
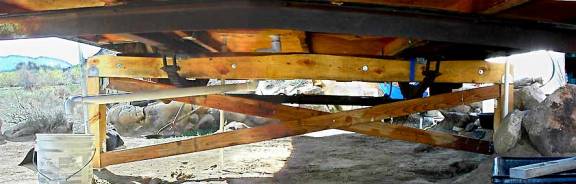
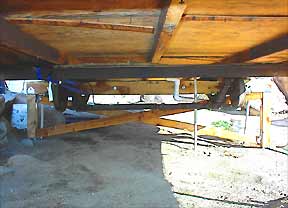
The beam is slid between the jacked-up iron frame & leaf
springs, against the wheel hubs, and positioned over the posts.
|
|
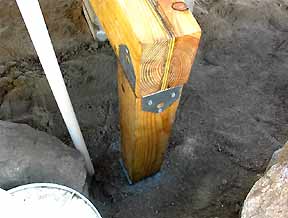
The post
connectors are inserted into place. Unseen aluminum flashing was laid along
the top of the beam between the trailer edges.
|
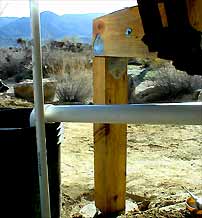
Steel plates have been placed beneath the contact points of the
iron frame.
The trailer & beam are then let down to rest entirely on the
2 posts. Nothing breaks.
(The trailer tongue is wedged firmly into place to prevent
sway.)
|