|
The
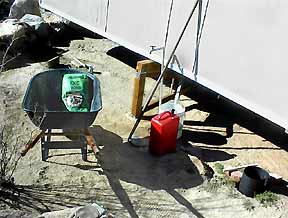
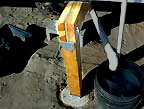
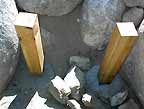
holes are lined with roofing paper with rocks dropped in to hold it in place.
The red can contains water to mix the concrete & to keep the hole's
contents wet prior to filling. The concrete should be liquid enough to flow
between the rocks but thick enough to hold the PVC anchor in place.
|
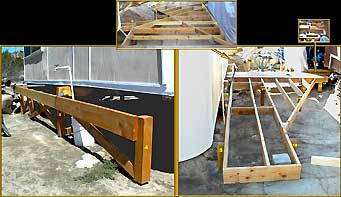
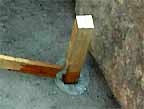
Nails through holes in the ¾” (ID) PVC pipe will lock it into
place. It should be as long as possible. It is inserted into the filled hole
near center with at least 5” above. In case it does not stay put, have
something ready to hang it from (see post 8).
The top
of the concrete is then troweled to give it a slight dome.
|
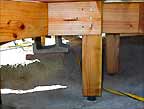
The PVC
anchors should line up so that the posts will line up, choosing each position
accordingly before insertion, not necessarily on center.
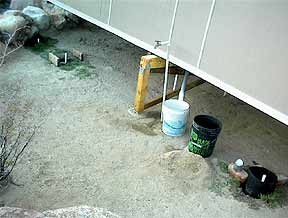
It is
important to keep the concrete wet for a couple of days, cutting the form an
inch higher so the water can pool on top.
|
|
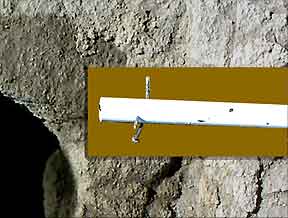
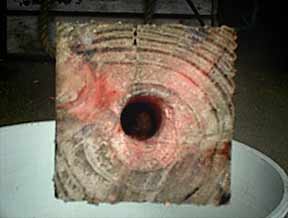
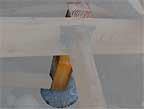
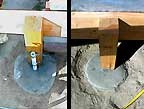
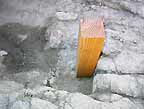
[Borrowed images from a MA job] Here I bored a 1” hole straight in, 5” deep or more. If the 5” PVC projection ends up out of line after all, I compensate here by drilling
closer to 1 edge. I position cracks parallel with the line of posts so that
nails & screws won't split them even more.
|
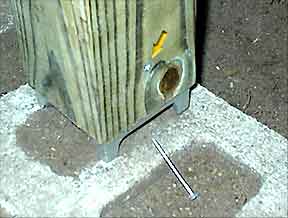
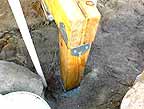
The PVC is temporarily inserted to see if I got the hole
straight (I didn't). Its also a little tight; I would have preferred a 1 1/8“ hole, but that blade bit
bit the dust. I used roofing nails to attach the foot; screws would have been
better (nails can fall out in time).
|
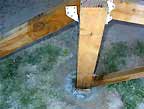
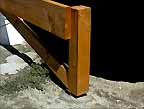
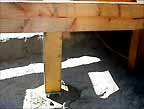
Finally,
a screw is inserted through the wood and PVC to minimize vertical movement. (This cement block actually sits on a
preexisting slab of concrete under the soil, through which I bored & chiseled a hole for the PVC pipe.)
|
|
All wood tools & materials were dipped & brushed with a
50/50 mix of linseed oil & mineral spirits (paint thinner) to minimize drying & cracking in the desert air.
A wood preservative might be more appropriate with pressure
treated wood in a wetter climate. Though PT may not really need preserving, it can't hurt and might help.
|